目录
前言
思想
注意
不多说解释了,贴代码吧
config.json
Get_blog_img.py
把之前的写的代码也贴上
Get_blog_id.py
主函数
main.py
运行结果
前言
在上一篇博客中我们介绍了如何爬取博客链接
利用python爬取本站的所有博客链接-CSDN博客文章浏览阅读740次,点赞5次,收藏16次。定义一个json配置文件方便管理现在文件只有用户名称,后续可加配置读取用户名称,并且将其拼接成csdn个人博客链接type=blog"https://blog.csdn.net/mumuemhaha/article/details/136375650在这一篇博客中我们介绍如何爬取博客中文章的图片
github同步更新
GitHub - mumuhaha487/Get_csdnContribute to mumuhaha487/Get_csdn development by creating an account on GitHub.![]() https://github.com/mumuhaha487/Get_csdn
https://github.com/mumuhaha487/Get_csdn
思想
首先同样利用request库进行爬取源代码然后利用正则表达式来筛选信息
需要注意的是分别把链接
https://img-blog.csdnimg.cn/xxx/xxx.png
和/xxx/xxx.png存储起来
前者用于爬取链接,后者用于区分存储在本地的路径
之前想利用re库来判断“/”符号进而提取文件目录,但是后面发现python有现成的库用来提取路径和文件名
利用
python">os.path.split函数即可
注意
多余的不多说明了部分博客游客看不了,注意配置cookie(最好配置自己的cookie)
在config.json中即可
不多说解释了,贴代码吧
config.json
{
  "blog_id": "mumuemhaha",
  "cookie" : "your_cookie",
  "img_path": "img"
}
注意配置cookie,爬取下来的文件保存在img目录中
Get_blog_img.py
python">import requests
import json
import re
import os
def Get_blog_img(url_1):
    with open("./config.json", 'r') as file_1:
        data_1 = json.load(file_1)

    cookie_1=data_1["cookie"]
    img_1=data_1["img_path"]
    head_1={
        "User-Agent" :"Mozilla/5.0 (Windows NT 10.0; Win64; x64) AppleWebKit/537.36 (KHTML, like Gecko) Chrome/122.0.0.0 Safari/537.36",
        "Cookie" : cookie_1
    }
    req_1=requests.get(url=url_1,headers=head_1)
    re_1='src="(https://img-blog.csdnimg.cn.*?.png)"'
    re_2='src="https://img-blog.csdnimg.cn/(.*?.png)"'
    img_ids=re.findall(re_2,req_1.text)
    img_urls=re.findall(re_1,req_1.text)
    for i in range(len(img_ids)):
        dir_name,file_name=os.path.split(img_ids[i])
        if dir_name:
            os.makedirs(f"{img_1}/{dir_name}",exist_ok=True)
        img_response=requests.get(url=img_urls[i],headers=head_1)
        if dir_name:
            with open(f'{img_1}/{dir_name}/{file_name}', 'wb') as f:
                f.write(img_response.content)
        else:
            with open(f'{img_1}/{file_name}', 'wb') as f:
                f.write(img_response.content)
把之前的写的代码也贴上
Get_blog_id.py
python">from selenium import webdriver
from selenium.webdriver.common.keys import Keys
from selenium.webdriver.common.action_chains import ActionChains  # 用于自动化框架执行动作
import time  # 延时操作,方便网站加载完全
import json  # 用于读取配置信息
import re  # 从源代码中提取文章的链接
def Get_blog_id():
    with open("./config.json", 'r') as file_1:
        data_1 = json.load(file_1)

    blog_id = data_1["blog_id"]
    url_1 = f"https://blog.csdn.net/{blog_id}?type=blog"
    driver = webdriver.Chrome()
    driver.get(url_1)
    for i in range(10000):
        time.sleep(0.5)
        actions = ActionChains(driver)
        actions.send_keys(Keys.PAGE_DOWN)  # 可以多次发送 PAGE_DOWN 来实现滚动的距离
        actions.perform()
        if i % 10 == 0:  # 每滑动 10 次进行判断
            prev_page_source = driver.page_source  # 获取前一次滑动后的页面源码
            time.sleep(2)  # 等待页面加载
            current_page_source = driver.page_source  # 获取当前页面源码

            if prev_page_source == current_page_source:
                print("网站滑倒底了,跳出循环...")
                break

    req_1 = driver.page_source
    re_1 = '<a data-v-6fe2b6a7="" href="(.*?)"'
    blog_urls = re.findall(re_1, req_1)
    print(f"文章个数为{len(blog_urls)}(看看是不是全爬下来了)")
    return blog_urls
主函数
main.py
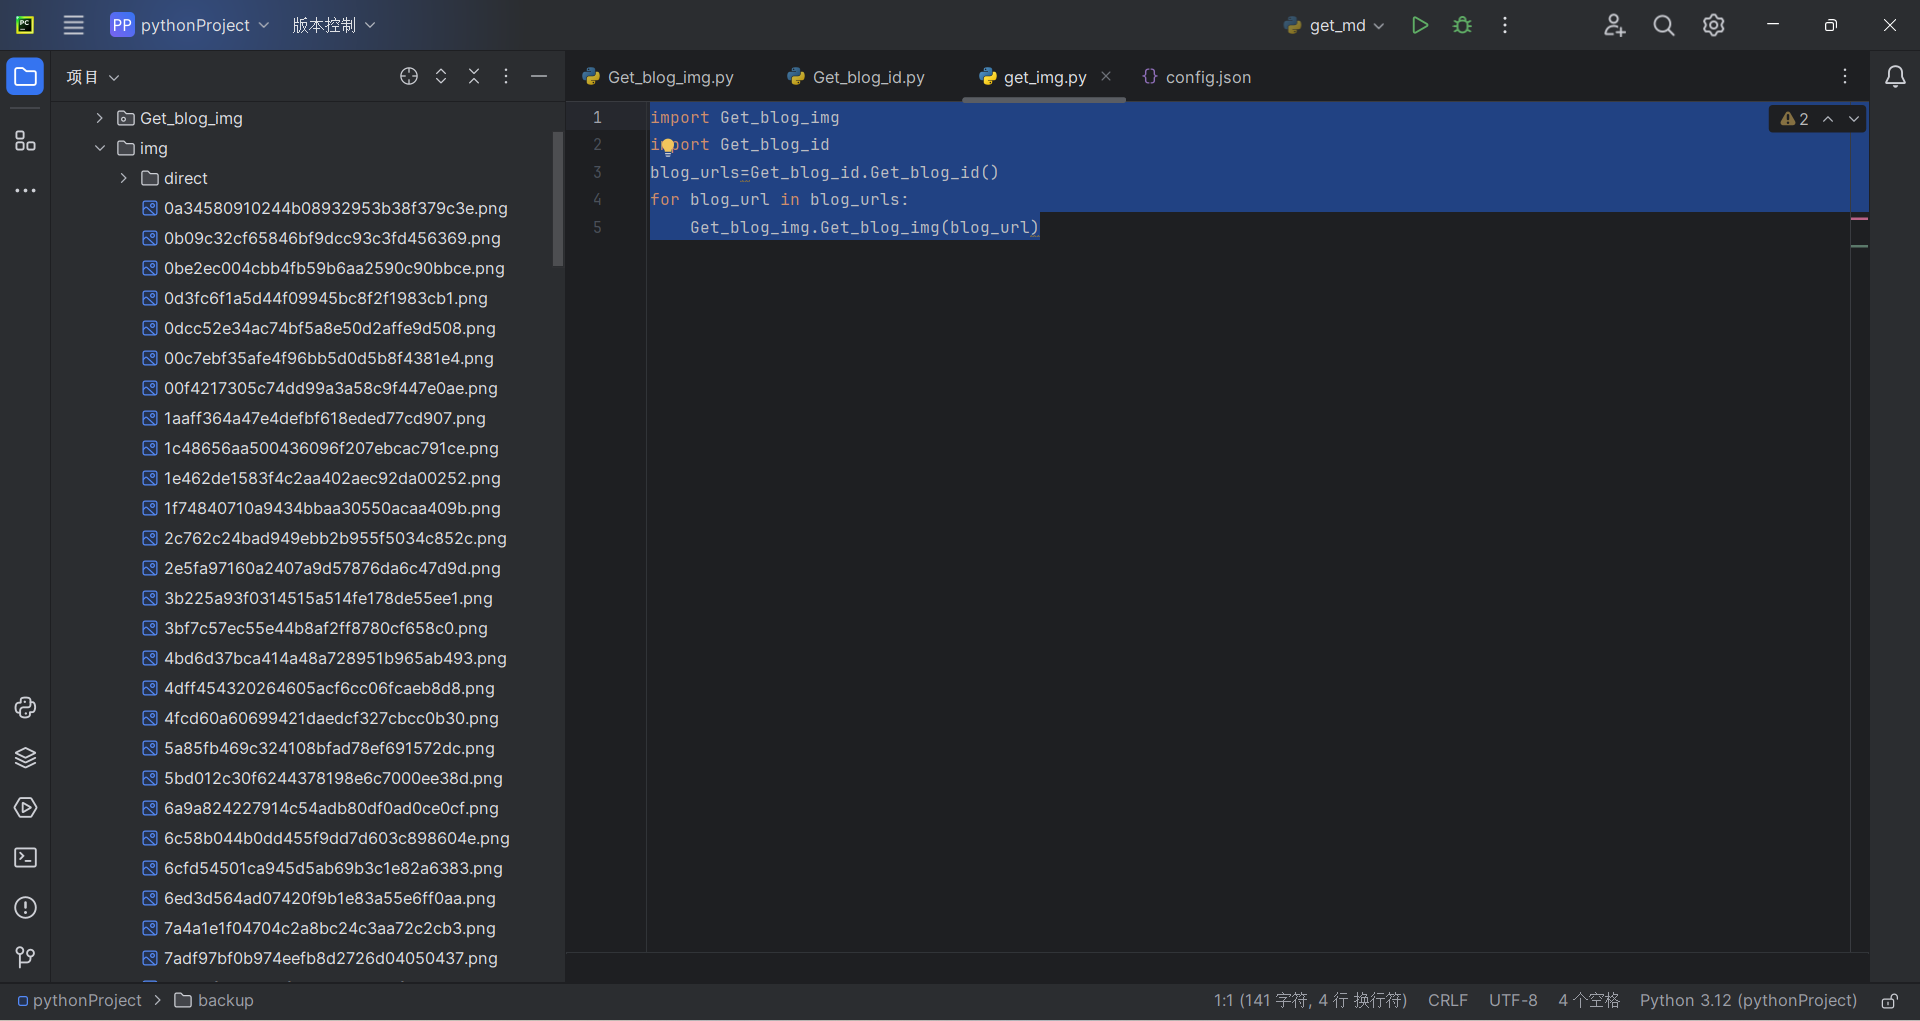
python">import Get_blog_img
import Get_blog_id
blog_urls=Get_blog_id.Get_blog_id()
for blog_url in blog_urls:
    Get_blog_img.Get_blog_img(blog_url)
运行结果

可以看到,爬取下来了


![[C语言]——操作符](/images/no-images.jpg)


